Deshedding Tools: A Step-by-Step Guide to Using Them
For professional groomers and pet care specialists, deshedding is an essential grooming task to maintain a healthy coat and minimize excessive shedding in dogs and cats. Deshedding tools are designed to remove loose, dead hair from the undercoat, preventing mats and tangles while promoting a smooth, shiny topcoat. However, using these tools incorrectly can cause discomfort, skin irritation, or damage to the animal's coat. In this guide, we'll walk through the proper techniques for utilizing deshedding tools effectively and efficiently.
Understanding Deshedding Tools

Deshedding tools come in various shapes and sizes, each designed to remove loose undercoat hair without damaging the topcoat. Common deshedding tools include:
- Rakes: These tools have long teeth and are ideal for thick, heavy coats.
- Blades: Featuring short, sharp teeth, blades are excellent for smooth-coated breeds.
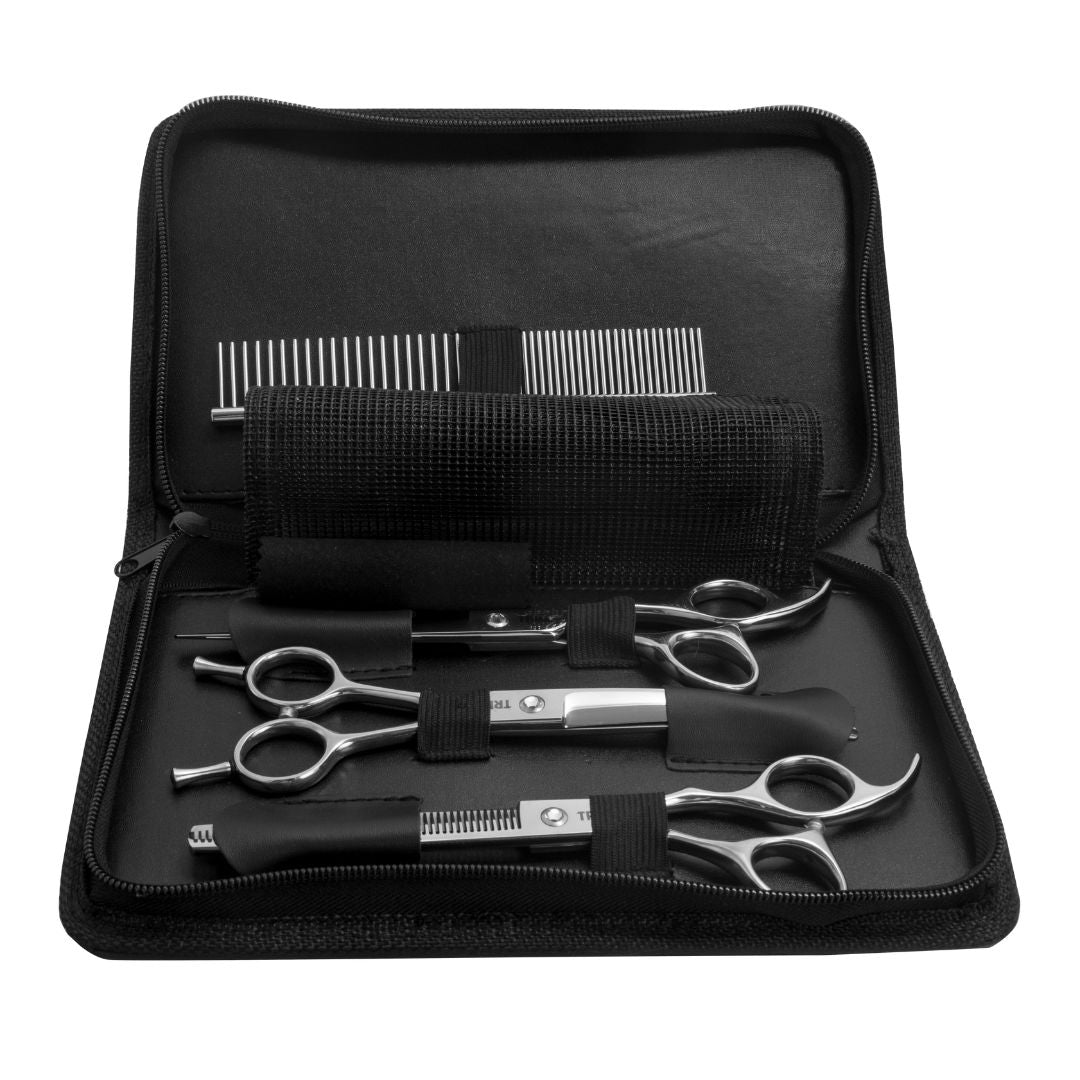
- Combs: With varying tooth lengths and spacing, combs are versatile and can be used on most coat types.
- Brushes: Slicker and pin brushes help in reducing shedding by removing loose hairs and detangling fur.
Each tool serves a specific purpose, so selecting the right one for each pet's coat type is crucial.
Step-by-Step Guide to Using Deshedding Tools
Step 1: Prepare the Coat
Before using any deshedding tool, it's crucial to brush the pet's coat thoroughly with a slicker brush or an undercoat rake. This step detangles the hair and brings loose undercoat hair to the surface, making it easier for the deshedding tool to capture and remove it. Brushing also distributes the natural oils throughout the coat, promoting a healthy shine.
Step 2: Choose the Right Deshedding Tool
Deshedding tools come in various forms, including deshedding brushes, rakes, and blades. Each tool is designed for specific coat types and shedding levels. For example, deshedding brushes with stiff bristles work well for short-haired breeds, while deshedding rakes or blades are better suited for long-haired or double-coated breeds. Consider the pet's coat type, shedding level, and sensitivity when selecting the appropriate tool.
Step 3: Proper Technique
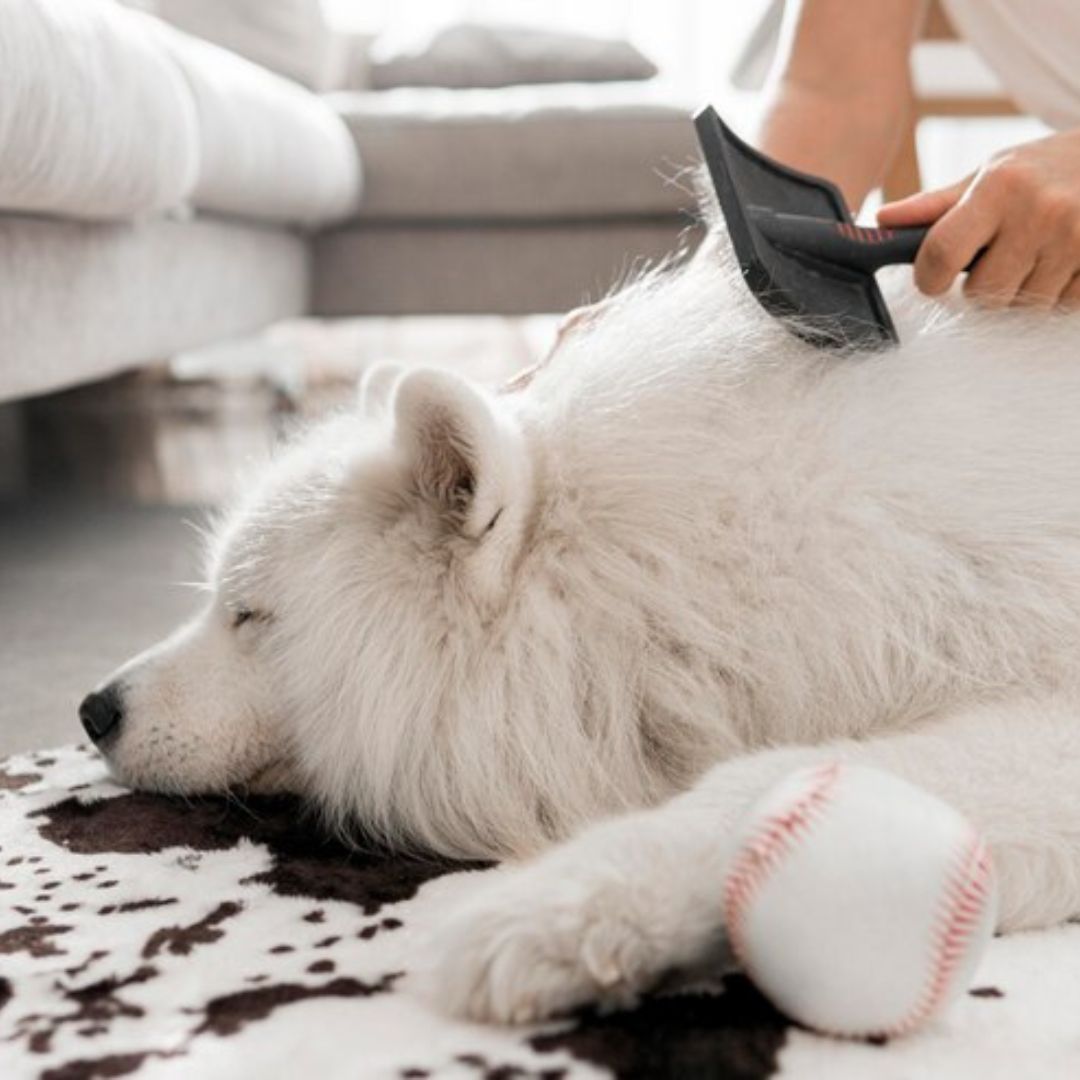
When using a deshedding tool, always work in the direction of hair growth, applying gentle pressure. Avoid pressing too hard or raking against the coat, as this can cause discomfort, skin irritation, or damage to the topcoat.
For deshedding brushes and rakes, start at the pet's head and work your way down the body in sections, following the natural flow of the coat. Pay extra attention to areas prone to matting, such as the armpits, belly, and rear end.
When using deshedding blades, hold the blade at a 30-45 degree angle to the skin and gently rake in the direction of hair growth. Avoid pressing too hard or staying in one area for too long, as this can cause skin irritation or create bald spots.
Step 4: Monitor the Pet's Comfort Level
Throughout the deshedding process, closely monitor the pet's comfort level and body language. If the animal shows signs of distress, such as excessive squirming, vocalization, or attempts to get away, take a break or adjust your technique. Some pets may be more sensitive than others, and it's essential to respect their boundaries and comfort levels.
Step 5: Frequent Deshedding
Deshedding should be an ongoing process, not a one-time event. Regular deshedding sessions, typically every 4-6 weeks for most breeds, can help maintain a healthy coat and minimize excessive shedding. Adjust the frequency based on the pet's shedding level and coat type.
Step 6: Proper Disposal and Cleanup
After deshedding, properly dispose of the collected hair and clean the grooming area. Use a vacuum cleaner or a lint roller to remove any remaining hair from surfaces, ensuring a clean and hygienic environment for the next grooming session.
Step 7: Post-Deshedding Care
Finish by giving the pet a final brush to smooth the coat and remove any remaining loose hairs. Offer treats and praise to reward the pet for their patience. This positive reinforcement will make future grooming sessions more manageable.
Tips for Effective Deshedding
- Regular Grooming: Incorporate deshedding into the regular grooming routine to manage shedding more effectively.
- Use High-Quality Tools: Invest in professional-grade deshedding tools for better performance and durability.
- Stay Informed: Keep up with industry trends and advancements in deshedding tools and techniques to provide the best service to your clients.
Conclusion:
By following these steps and using deshedding tools correctly, professional groomers and pet care specialists can effectively remove loose, dead hair from a pet's undercoat, promoting a healthy, shiny topcoat and minimizing excessive shedding. Remember, patience, gentleness, and respect for the animal's comfort are keys to a successful deshedding experience.






Leave a comment
Please note, comments must be approved before they are published
This site is protected by hCaptcha and the hCaptcha Privacy Policy and Terms of Service apply.